DIY Smart CO2 Monitor Part 4: Cost Optimization and SCD41 Integration
The components I ordered for the next iteration of our DIY Smart CO2 Monitor have finally arrived! In this part, we’ll be focusing on cost optimization by switching to more affordable hardware while significantly improving accuracy with the Sensirion SCD41 sensor. This upgrade brings us closer to a production-ready design while maintaining the core functionality we built in Part 3.
Hardware Cost Optimization
For this iteration, I made strategic component choices to reduce costs while improving functionality:
NodeMCU ESP32 vs ESP32-S3 DevKit
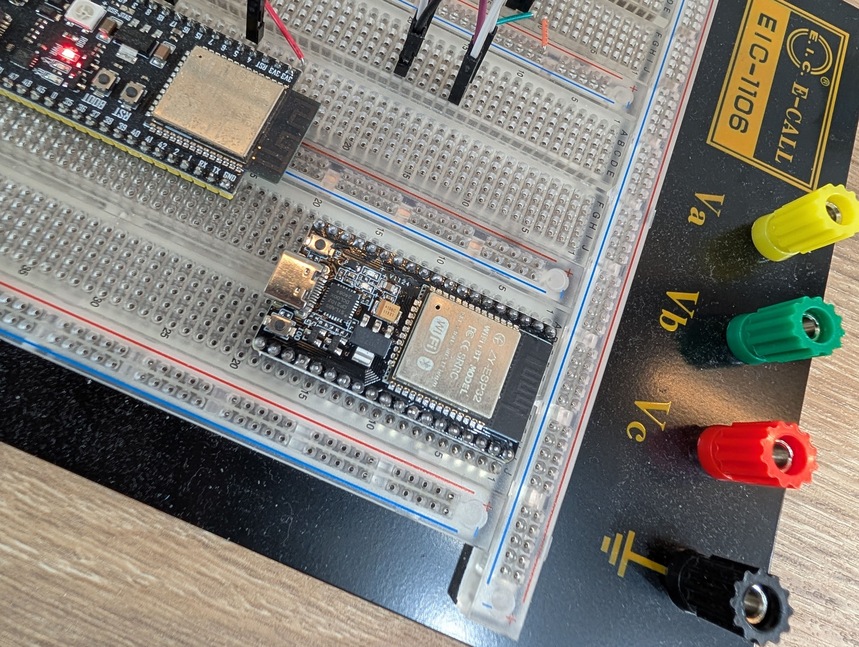
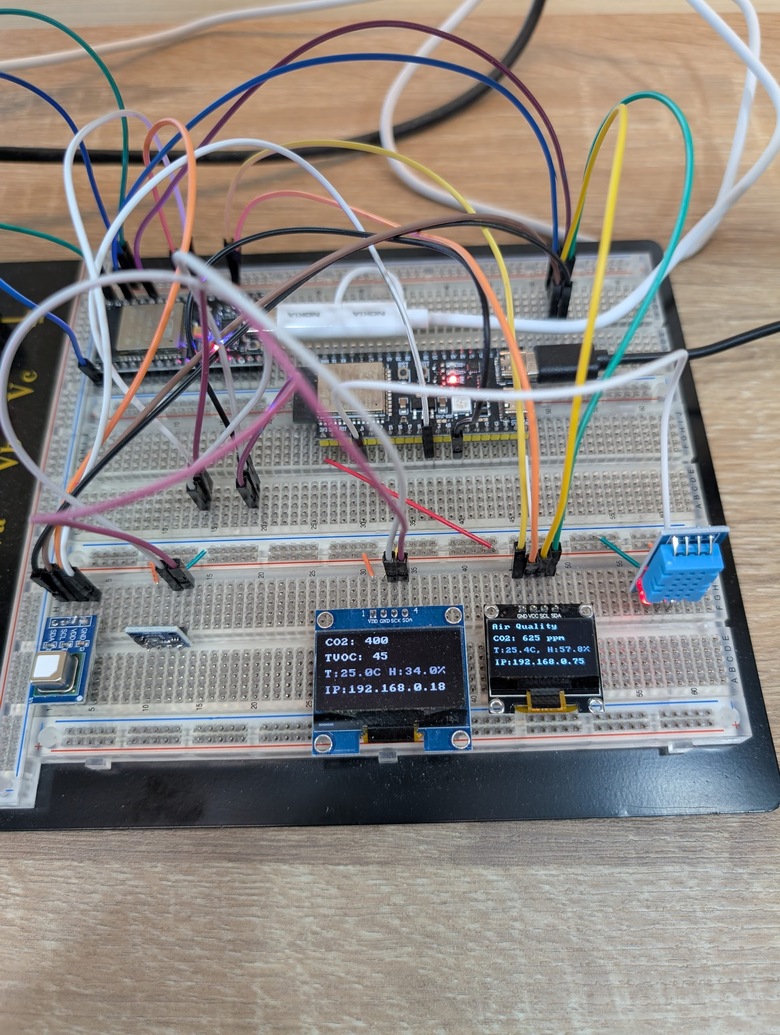
I switched from the ESP32-S3 DevKit to a NodeMCU ESP32 development board, reducing the microcontroller cost from around $12 to just $3. While we lose some of the advanced features of the S3, the standard ESP32 provides all the capabilities we need for this project.
Display Change: SH1106 to SSD1306
I also switched from the SH1106 OLED display to an SSD1306 display, reducing the display cost from $4 to $2. The SSD1306 is smaller (0.96” vs 1.3”) but offers the same 128x64 resolution and is more widely supported in libraries.

While the smaller screen real estate requires more careful UI design, the cost savings make it worthwhile for a production design.
The SCD41: A Game-Changing Sensor
The star of this upgrade is the Sensirion SCD41 sensor ($20). Unlike the SGP30 which estimates CO2 based on volatile organic compounds, the SCD41 uses NDIR (Non-Dispersive Infrared) technology to directly measure CO2 concentration, providing much more accurate readings.
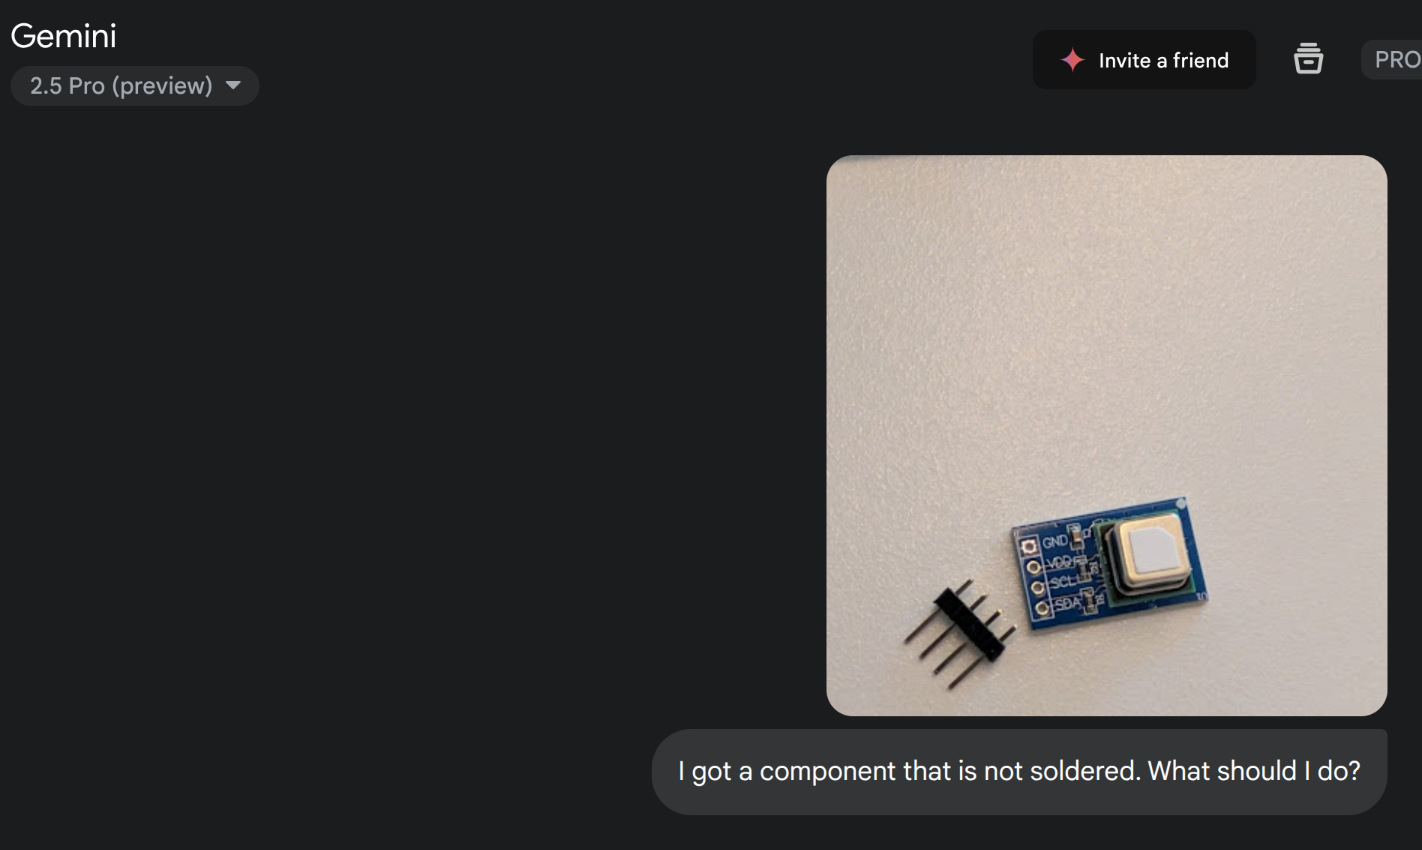
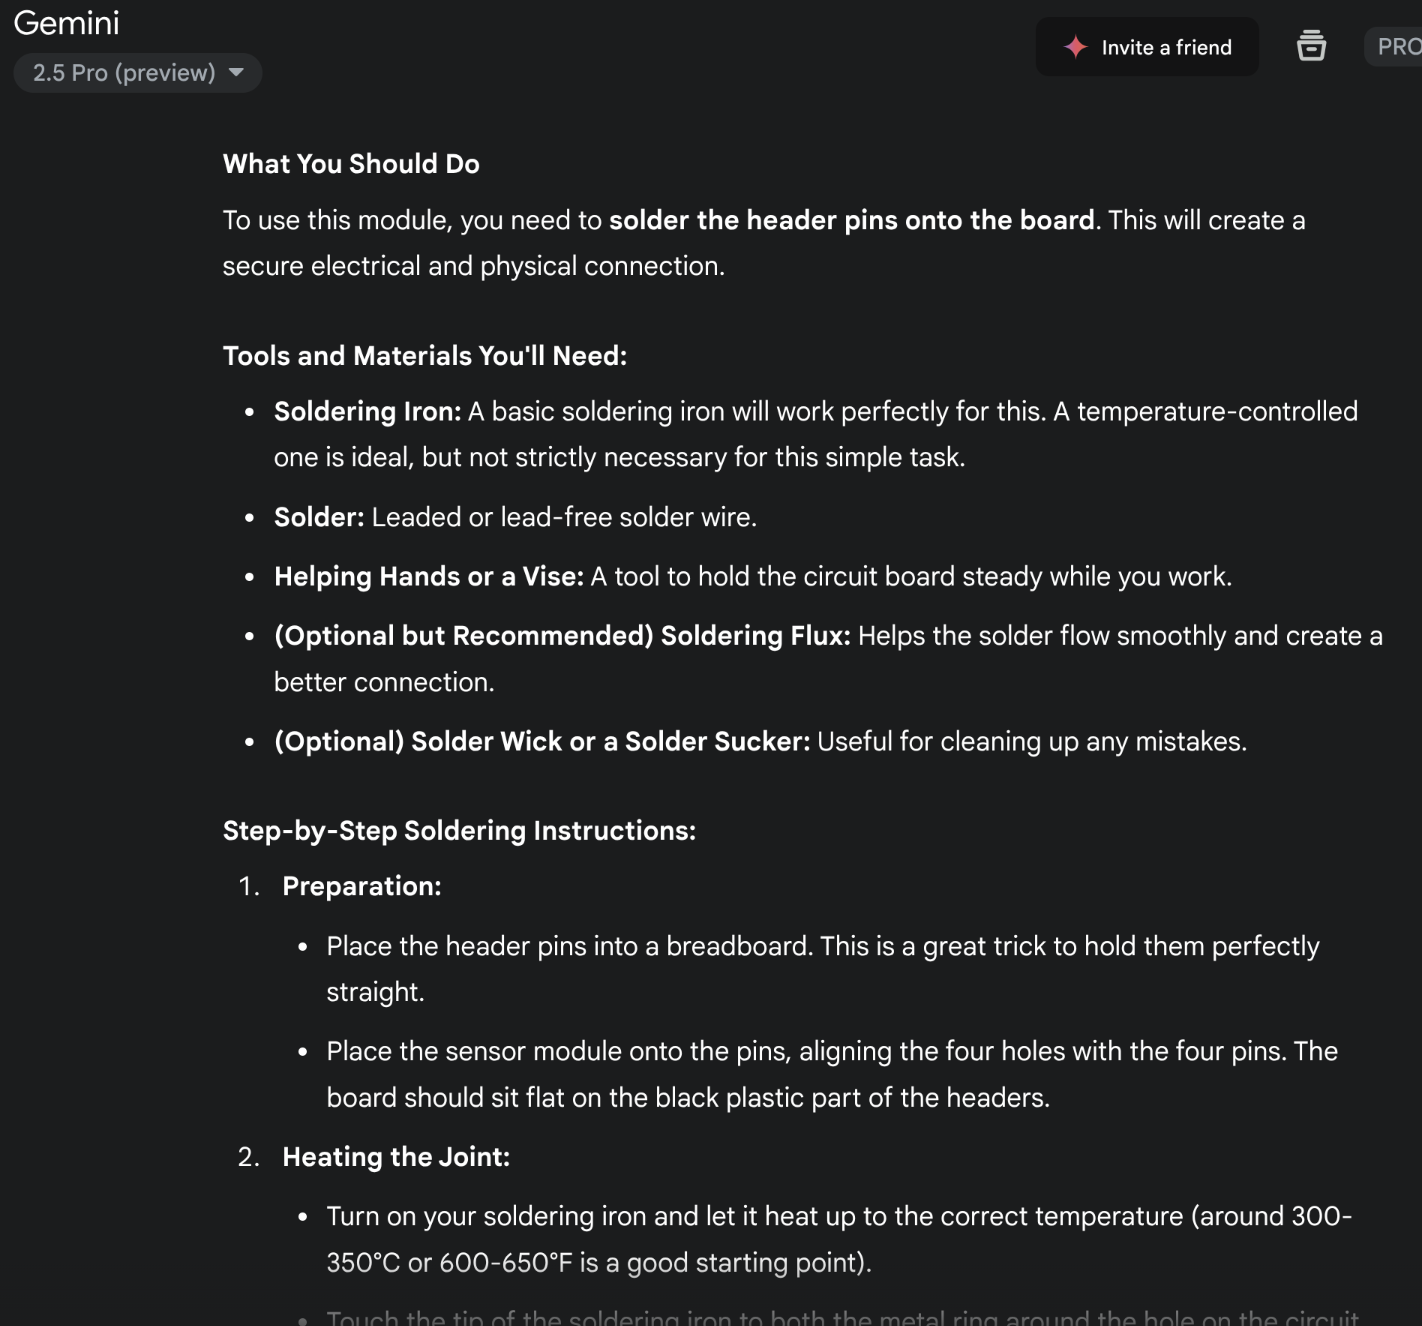
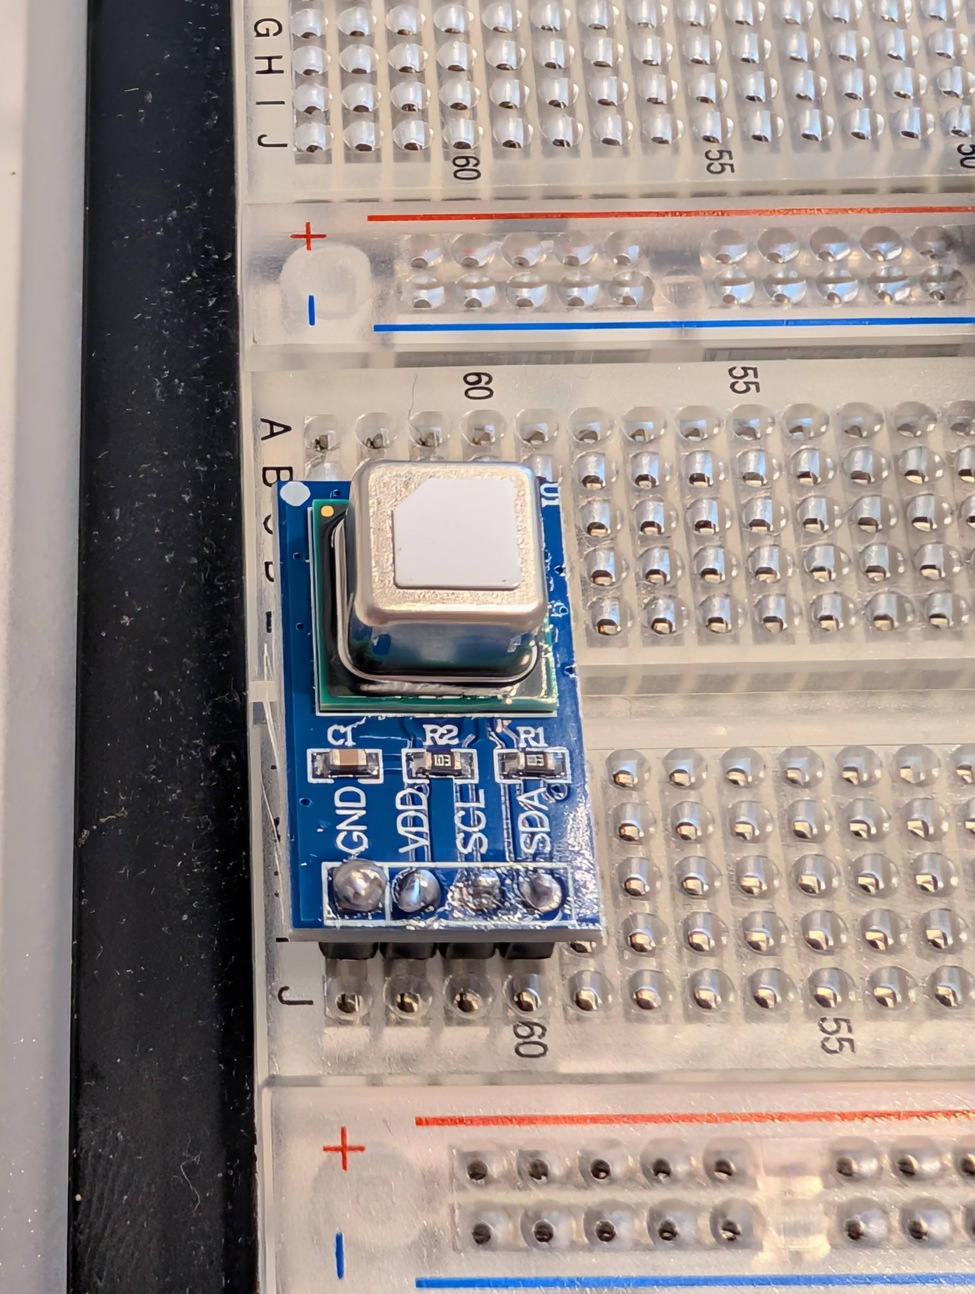
Soldering Challenge and AI Assistant
The SCD41 I received came without pre-soldered header pins. I turned to Gemini for soldering guidance and managed to get it connected, though admittedly not with the most beautiful results!
Code Development with Copilot Pro and Claude Sonnet 4
For this iteration, I upgraded to Copilot Pro and started using Claude Sonnet 4 (Preview) for more complex code generation tasks. The difference in capability is remarkable.
Creating the SCD41 Driver
The most impressive part of this development was that the SCD41 driver wasn’t available in the ESP-IDF component registry. I asked the AI to help, and it:
- Found the datasheet: Automatically located the SCD41 datasheet online
- Generated a complete driver: Created a full I2C driver implementation from scratch
- Worked on first run: The generated code compiled and functioned perfectly immediately
The magic of modern AI development tools continues to amaze me. The driver worked so well that I decided to package it as a reusable component and published it to the ESP-IDF Component Registry: https://components.espressif.com/components/chiehmin/scd41
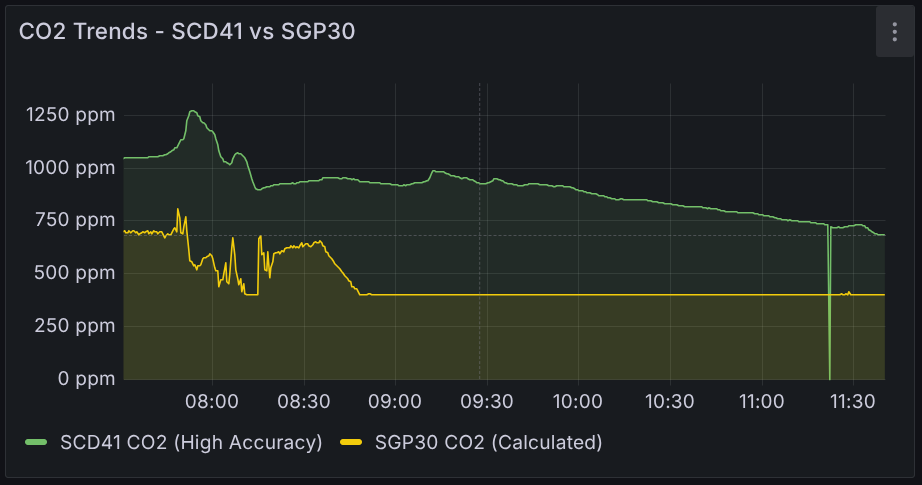
Side-by-Side Comparison: SGP30 vs SCD41
With both sensors running simultaneously, the accuracy difference is striking:
Detection Method Comparison
The fundamental difference in detection methods explains the accuracy gap:
SGP30 (MOX - Metal Oxide Semiconductor):
- Estimates CO2 based on TVOC measurements
- Highly temperature-dependent
- Requires calibration and warm-up time
- Good for relative changes, poor absolute accuracy
SCD41 (NDIR - Non-Dispersive Infrared):
- Directly measures CO2 absorption at specific infrared wavelengths
- Temperature-compensated internally
- Provides absolute CO2 measurements
- Industry-standard accuracy (±40 ppm + 5% of reading)
Real-World Testing Results
Through manual testing, the differences are clear:
- Temperature Independence: The SCD41 maintains consistent readings regardless of ambient temperature, while the SGP30 shows significant drift with temperature changes
- Response Time: Both sensors respond to window opening/closing, but the SCD41 shows more predictable and linear changes
- Absolute Values: The SCD41 readings align much better with expected indoor CO2 levels (400-1000 ppm), while SGP30 values seemed arbitrary
The SCD41 also provides temperature and humidity readings as bonus features, eliminating the need for the separate DHT11 sensor and simplifying our design.
Next Steps: Moving Toward Production
With the sensor upgrade complete and cost optimization achieved, the next phase involves:
- PCB Design: Moving from breadboard to a custom PCB for better reliability and compact form factor
- 3D Printed Enclosure: Designing and printing a protective case for the final assembly
- Power Optimization: Implementing deep sleep modes for battery operation
- Final Testing: Long-term accuracy validation and environmental testing
The total component cost for this iteration:
- NodeMCU ESP32: $3
- SSD1306 Display: $2
- SCD41 Sensor: $20
- Total: $25
- The price for this version is similar to the previous one, but incorporates a more accurate sensor.
Stay tuned for next parts, where we’ll create a soldered PCB and 3D printed case for our smart CO2 monitor!